How to Add or Remove Send To from Context Menu in Vista
This will show you how to add or remove the Send To context menu, right click on a file or folder, item for all users on the computer. By default, Send To is added to the context menu.
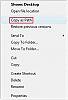
EXAMPLE: Send To added or removed from the Context menu


 OPTION ONE
1. To Add Send To
A) Click on the Download button below to download the file below.
Add_Send_To_Menu.reg

B) Go to step 3.
2. To Remove Send To
A) Click on the Download button below to download the file below.
Remove_Send_To_Menu.reg
Attachments
-
Add_Send_To_Menu.reg330 bytes · Views: 15,880
-
Remove_Send_To_Menu.reg254 bytes · Views: 13,585
-
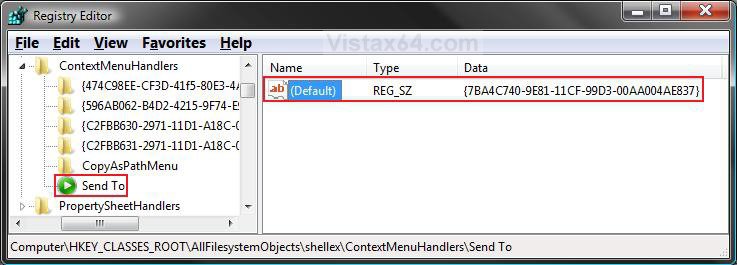 SendTo_Added_Reg.jpg75.7 KB · Views: 2,841
 -
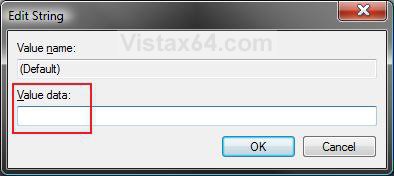 Removed_Modify.jpg19.6 KB · Views: 6,937
 -
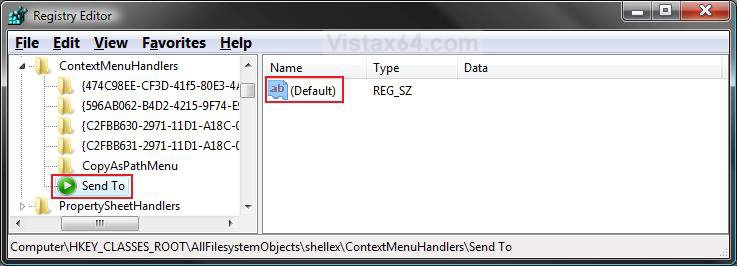 SendTo_Removed_reg.jpg69.8 KB · Views: 2,919
 -
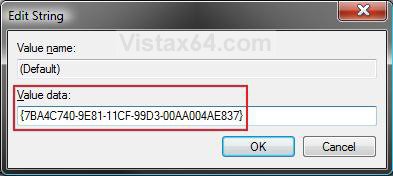 SendTo_Added_Modify.jpg31.6 KB · Views: 6,966
 -
 thumb_Copy_Path.jpg2.2 KB · Views: 410
Last edited by a moderator:


")