How to Create a Elevated Command Prompt Shortcut in Vista
Some commands that you can run using Command Prompt might require elevated or administrative privileges. This will show you how to create a Elevated Command Prompt shortcut so you do not have to always do this by right clicking on the default Command Prompt shortcut and click Run as administrator.
After you click on the new Elevated Command Prompt shortcut, you will be prompted by UAC to click Continue before it opens.
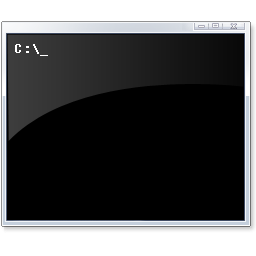
NOTE: Notice how the elevated command prompt opens to the C:\Windows\System32 location instead of just the current users C:\Users\(User Name) location.


 OPTION ONE
1. Click on the Download button below to download the file below.
Elevated_Command_Prompt.zip

2. Click on Save and save it to the Desktop.
3. Right click on the downloaded .zip file and click on Open.
4. Click on Allow in the UAC prompt.
5. Extract (drag and drop) the Elevated Command Prompt shortcut to the desktop.
6. Move the shortcut where you like for easy use.
7. When done, you can delete the downloaded .zip file if you like.
OPTION TWO 1. Open a Windows Explorer window and navigate to C:\Windows\System32\cmd.exe . (See screenshot below step 3)
2. Right click on cmd.exe (cmd) and click on Send To and Desktop (create shortcut).
3. Close the Windows Explorer window.

4. Right click on the new cmd.exe shortcut on the desktop and click on Rename.
5. Type in Elevated Command Prompt and press Enter.
NOTE: You can name the shortcut anything you like though.
6. Right click on the Elevated Command Prompt shortcut on the desktop and click on Properties.
7. Click on the Shortcut tab and click on the Advanced button. (See screenshot below)

8. Check the Run as administrator box and click on OK. (See screenshot below)

9. Click on OK. (See screenshot below step 7)
That's it,Shawn
Attachments
Last edited: