Asus XCC550
Member
Good morning.
First of all, I want to apologize if my English is not perfect, as I am from Spain. I hope everything is clear enough for everyone!
Welcome to one of the most difficult hardware retro-projects I've ever had to work on: Windows Vista, running on a laptop that was designed for Windows 8.1 out of the factory. In other words, a machine that is two generations ahead, where the minimum compatible system (stretching the hardware backwards) is Windows 7.
In the computer forums I've asked, such as InformáticaFacil, I was told directly to "forget about Windows Vista on that laptop", that it is too modern.
But I'm stubborn, and in the end, I've hit the right key.
And today I'm going to show you how I achieved it, and I'm also leaving a mark on this particular case on the Internet, because not many have managed to do it, at least that I have been able to document. To anyone this post can help in the present or future, it will have been worth it.
Before starting, I would like to clarify that there are very few photos of the process, because when I was in the middle of it, I didn't even believe this was possible, so I didn't even bother to document it with photos until I saw that it was indeed possible, so please excuse me if photos of more than half of the process are missing.
First of all, I leave here the complete specifications of the equipment where we are going to install Windows Vista:
Original Operating System (Factory)
Windows 8.1 x64 bits.
Model
Asus X550CC
Manufacturing Year
2013
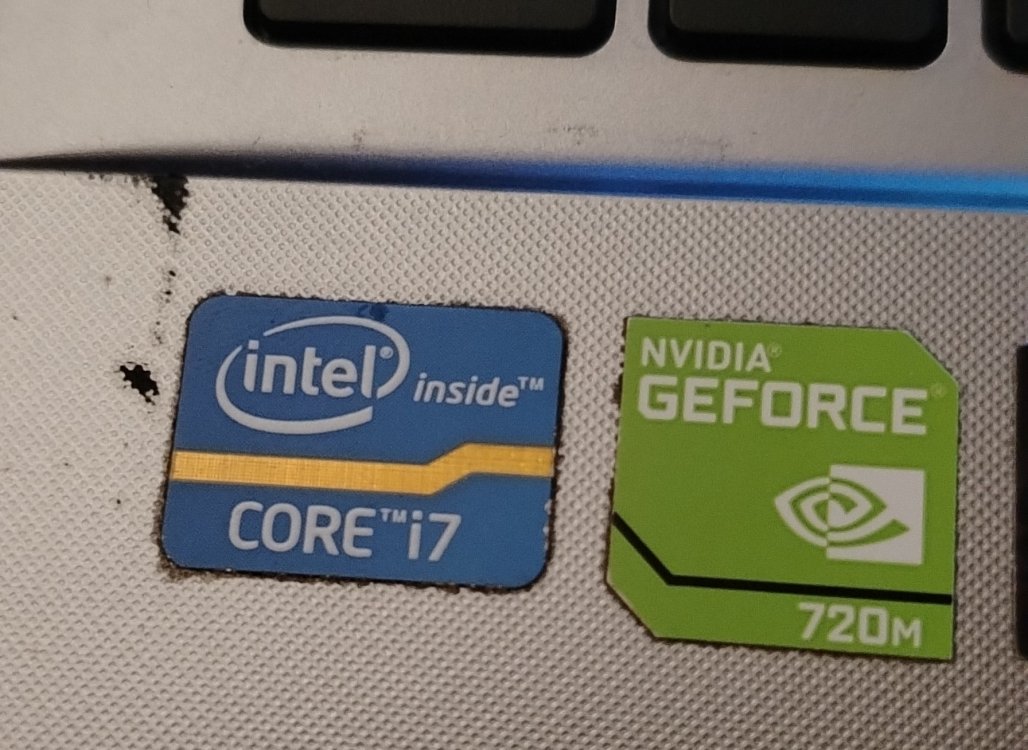
CPU
Intel Core i7-3537U @ 2.00 GHz (Turbo Boost up to 2.50 GHz)
Motherboard
ASUS X550CC (Intel HM76 Chipset)
Memory
8 GB DDR3 1600 MHz
Graphics Card
Intel HD Graphics 4000 + NVIDIA GeForce GT 720M (NVIDIA Optimus integrated)

So, what is the problem with this equipment and Windows Vista? Very simple, and there are two problems:
The first is that Intel turned its back on Windows Vista with the arrival of the Ivy Bridge architecture (the case of my Asus) and buried any official support for the Haswell generation.
And the second is that installing it here is, basically, forcing the hardware to work with software for which it was never designed at all, such as Windows Vista, or Windows Server 2008 (to which they removed support just in this 2026 and that later will be important), for example.
The first thing that happens when we try to install via USB an ISO image of Windows Vista 64 bits on this computer, is that it will not boot unless we touch BIOS parameters (forget about installing the 32-bit version of Vista on this computer, by the way). It has to be 64 bits no matter what.
To burn the Windows Vista ISO image to a USB of at least 8 GB, I recommend Windows 7 USB/DVD Download Tool. (Link to the program if: Windows 7 USB DVD Download Tool (Windows))
Although the name says "Windows 7", it is the official tool that Microsoft released back in the day and works perfectly to burn the Windows Vista ISO to a flash drive
Once we have our USB ready, we are presented with the first big problem:
If you try to boot the USB with Windows Vista as is, the BIOS (In this ASUS it is UEFI type) will not allow it, because it won't even appear
In order for the Vista installer to deign to appear in the boot options, you have to enter the BIOS (F2 at startup, in case someone doesn't know) and look for these two options:
Disabled Secure Boot: This is fundamental. Vista doesn't know what secure boot is, since it was incorporated starting with Windows 8, and the BIOS will block the Windows Vista boot if it's active.
Enable CSM (Compatibility Support Module): It's the legacy compatibility mode. Without this, the Vista installer will stay frozen on the "Starting Windows" screen.
Once these two BIOS parameters are configured, and the USB is set as the first in the boot section, the Windows Vista installation will begin.
Simply accept what it tells you, set a size on the hard drive for the installation, and "done", in quotes.
Once all this is done, you will finally enter the Windows Vista desktop.
This in itself is already an achievement since, as I mentioned earlier, this hardware was not intended for Windows Vista as standard.
But let's not claim victory yet, boys... Because all we will have is a completely naked desktop, lacking drivers and with 0 utility (and when I say 0, I mean 0): No 3D graphics, no internet, no chipset.... Nothing at all, zero.
We will have to install everything by hand, except for the generic audio driver, which is compatible and will greet us as soon as the installation is finished, so at least we will have sound to start with.
Very well, and from now on it's time to breathe deeply, take a breath and get ready, because the war with the Drivers on this Asus X550CC is served:
The first thing we will have to do is have another computer at hand (yes: if you don't have another support computer, you're screwed), and install the chipset.
The chipset will allow Windows Vista to start recognizing the internal components of the laptop: the USB ports, the system bus and, above all, to stop seeing components as simple "Unknown Devices", so the first thing we will do is, from another laptop or computer with internet, download it, transfer it to a flash drive and connect it to our computer.
(Remember to install Winrar before doing this. It works without drivers and is a simple executable that you install in a minute).
Once Winrar is installed, copy the shortcut to the desktop and you're done: We can start with the Drivers.
As I said, the first one will be the chipset, which you can install from Softpedia:
Download ASUS X550CC Intel Graphics Driver 9.17.10.2963.01 64-bit for Windows Vista 64 bit, Windows 7 64 bit, Windows 8 64 bit
(It's the only driver you can download from that web for Windows Vista, at least on the Asus X550CC). The others haven't worked for me.
Forget about the others on the web, since for some reason I don't know, they fail when installing them, even from the device manager.
And what about the official Asus page? You might be wondering. Well, they don't even offer drivers for Windows Vista for that model: Only from Windows 7 to Windows 10.

Once the chipset is ready (which you will have to extract with Winrar in an external folder, open the device manager and install it from there) (if someone doesn't know how to install from the device manager, let me know and I'll explain), the USB ports will already work properly for you, including the blue port (3.0).
At this point, and due to the impossibility of finding a network driver that connects to the WiFi card of the Asus X550CC (again due to the lack of Ivy Bridge support), I recommend you buy one of these:

Compatible with Windows 11/10/8.1/8/7 and earlier (that is, Windows Vista and XP). All Post MS-DOS Windows Systems, basically.
Once connected to the computer, we will have to download the appropriate driver for this specific model, which I leave here: Descarga para TL-WN722N | TP-Link España
Once connected to your wifi network, you will have to download a browser compatible with Windows Vista from another Computer and transfer it with a flash drive to your desktop. I recommend Supermium: A browser made by fans and enthusiasts of Windows systems that have already passed to a better life (XP, Server 2003, Vista, 7, 8, 8.1). Download link:
 win32subsystem.live
And well, once the WiFi is set up, I recommend that before getting into the real headache of all this, you download Legacy Update:
And update everything you can on your Windows Vista, to leave it as prepared as possible for what we are going to do next (if it asks you for 200 updates and you take several days to install all of them, don't be scared or frustrated: Believe me, they are essential for the operation of Windows Vista, and even more so on modern unsupported hardware).
And well, once the system is updated as much as possible, let's go with the 3D graphics drivers, the important and complex part of all this matter (before starting, if you see that you still get controllers with a yellow interrogation icon in the device manager, don't even bother: they simply do not exist for this Asus model in Windows Vista).
This is where we shut up some closed-minded veterans, and we prove that you can have Aero on this machine.
 If you try to install the Intel HD 4000 driver as is, the installer will tell you to your face that "The system does not meet the requirements". And it's right: Intel never wanted Ivy Bridge to run on Vista.
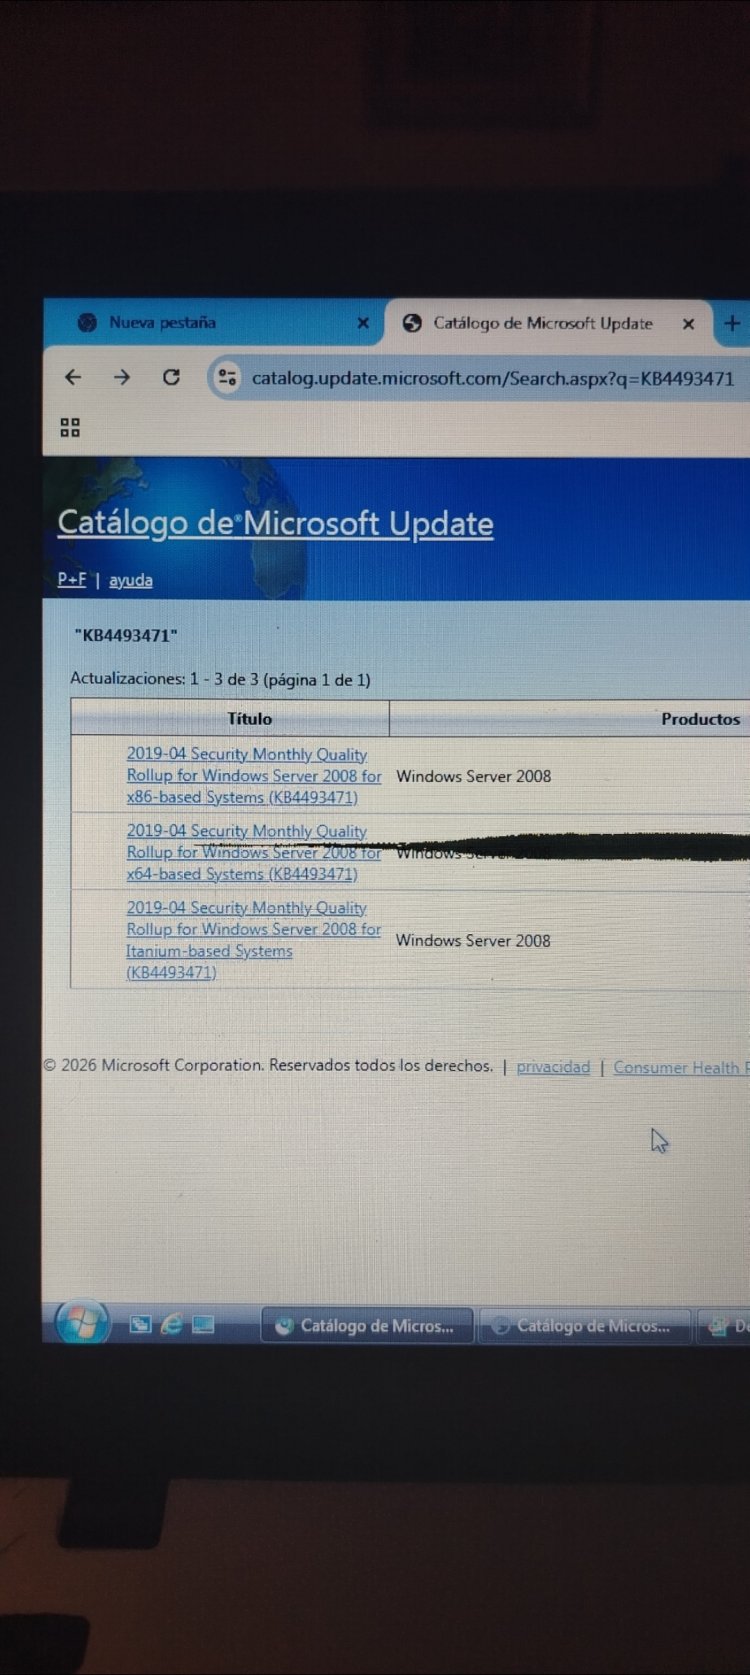
(Before proceeding, install KB2533623 and KB4474419) without them the system will not boot when we apply the Kernel, BE VERY CAREFUL!!!!! Download link:
In the catalog you will see many versions. You have to download the ones that say "Windows Vista for x64-based systems". If you download the x86 or Server 2008 version, it will give you an error "The update does not apply to the computer".
Don't forget disabled Nvidia Driver.
I took a photo of this, so I'll leave it here:

To jump over this wall, we need the executable that is going to solve the situation: Extended Kernel from Win32.
What is this? It's a project that modifies the Windows Vista kernel so that it supports functions of Windows 7 and 8. Without this, your Asus X550CC will be a very nice paperweight with Aero disabled.
Download link for Extended Kernel Win32 for Windows Vista:
 www.win32subsystem.live
Once the executable is downloaded from the Win32Subsystem web, don't double click it like crazy.
Follow this order so as not to break the system:
Restore Point: Do it. For whatever you love most. If something goes wrong, you can go back.
Installation: Run the installer. You will see a command window or a simple installer. Make sure it detects your 64-bit version.
When finished, the program will ask you to restart. Do it immediately and don't be scared.
When you return to the desktop, look in the start menu or in the installation folder for the program "Extended Kernel Configuration".
Here comes the trick: You have to make sure that the "Enable Extended Kernel" options are active.
In the "Spoofing" tab, you can choose for the system to identify itself as Windows 7. This is what tricks the driver installers so they don't kick you out.
With the Kernel active and the "spoofing" set to Windows 7 mode, we can now go for the Intel HD 4000 driver.
As I told you, look for the driver modified by Ximoti. This driver is special because Ximoti took the enormous trouble of editing the .inf files to add the hardware IDs of the Ivy Bridge CPUs that Intel decided to ignore in Vista.
This driver is legendary in the community because it is the one that has the edited .inf files so that the Ivy Bridge series (like the i7-3537U) is recognized by Windows Vista.
I'll leave it uploaded to files.fm for whoever wants to download it:
Ximoti's Driver
Once you install the Ximoti driver by forcing it from the Device Manager (remember: Update Driver -> Browse my computer -> Let me pick -> Have Disk), inside the folder you will see a file called "Setup.exe". Run it and the CMD command window will open. Simply press any key that is notF (be careful) and you will have the kernel applied.
IF THE COMMAND WINDOW FREEZES DO NOT CLOSE IT, IT IS NOT BLOCKED, BUT IT IS PATCHING FILES.
Restart the computer and you will finally see the magic:

When you turn it back on, you will see this:
"Windows Build 6002 SP2".
This means that our Windows Vista already has the modified Kernel thanks to the Win32 Extended Kernel and the security updates from Windows Server 2008. The Ximoti driver has done the rest to give us Aero. (Thanks Ximoti, we owe you our lives, us 4 geeks, bro xd).
If the screen is out of adjustment, or you see that Aero still does not appear, right click on the desktop, personalize and adjust your resolution to the monitor's native one.
If Aero still does not appear, enter the device manager and install the IntelR HD4000 that I have been talking about all the time in this thread. It should let you. Restart and you will have Windows Vista with Aero on your modern hardware:
Look at these wonderful transparencies


Asus X550CC with Windows Vista x64 Aero.
First of all, I want to apologize if my English is not perfect, as I am from Spain. I hope everything is clear enough for everyone!
Welcome to one of the most difficult hardware retro-projects I've ever had to work on: Windows Vista, running on a laptop that was designed for Windows 8.1 out of the factory. In other words, a machine that is two generations ahead, where the minimum compatible system (stretching the hardware backwards) is Windows 7.
In the computer forums I've asked, such as InformáticaFacil, I was told directly to "forget about Windows Vista on that laptop", that it is too modern.
But I'm stubborn, and in the end, I've hit the right key.
And today I'm going to show you how I achieved it, and I'm also leaving a mark on this particular case on the Internet, because not many have managed to do it, at least that I have been able to document. To anyone this post can help in the present or future, it will have been worth it.
Before starting, I would like to clarify that there are very few photos of the process, because when I was in the middle of it, I didn't even believe this was possible, so I didn't even bother to document it with photos until I saw that it was indeed possible, so please excuse me if photos of more than half of the process are missing.
First of all, I leave here the complete specifications of the equipment where we are going to install Windows Vista:
Original Operating System (Factory)
Windows 8.1 x64 bits.
Model
Asus X550CC
Manufacturing Year
2013
CPU
Intel Core i7-3537U @ 2.00 GHz (Turbo Boost up to 2.50 GHz)
Motherboard
ASUS X550CC (Intel HM76 Chipset)
Memory
8 GB DDR3 1600 MHz
Graphics Card
Intel HD Graphics 4000 + NVIDIA GeForce GT 720M (NVIDIA Optimus integrated)
So, what is the problem with this equipment and Windows Vista? Very simple, and there are two problems:
The first is that Intel turned its back on Windows Vista with the arrival of the Ivy Bridge architecture (the case of my Asus) and buried any official support for the Haswell generation.
And the second is that installing it here is, basically, forcing the hardware to work with software for which it was never designed at all, such as Windows Vista, or Windows Server 2008 (to which they removed support just in this 2026 and that later will be important), for example.
The first thing that happens when we try to install via USB an ISO image of Windows Vista 64 bits on this computer, is that it will not boot unless we touch BIOS parameters (forget about installing the 32-bit version of Vista on this computer, by the way). It has to be 64 bits no matter what.
To burn the Windows Vista ISO image to a USB of at least 8 GB, I recommend Windows 7 USB/DVD Download Tool. (Link to the program if: Windows 7 USB DVD Download Tool (Windows))
Although the name says "Windows 7", it is the official tool that Microsoft released back in the day and works perfectly to burn the Windows Vista ISO to a flash drive
Once we have our USB ready, we are presented with the first big problem:
If you try to boot the USB with Windows Vista as is, the BIOS (In this ASUS it is UEFI type) will not allow it, because it won't even appear
In order for the Vista installer to deign to appear in the boot options, you have to enter the BIOS (F2 at startup, in case someone doesn't know) and look for these two options:
Disabled Secure Boot: This is fundamental. Vista doesn't know what secure boot is, since it was incorporated starting with Windows 8, and the BIOS will block the Windows Vista boot if it's active.
Enable CSM (Compatibility Support Module): It's the legacy compatibility mode. Without this, the Vista installer will stay frozen on the "Starting Windows" screen.
Once these two BIOS parameters are configured, and the USB is set as the first in the boot section, the Windows Vista installation will begin.
Simply accept what it tells you, set a size on the hard drive for the installation, and "done", in quotes.
Once all this is done, you will finally enter the Windows Vista desktop.
This in itself is already an achievement since, as I mentioned earlier, this hardware was not intended for Windows Vista as standard.
But let's not claim victory yet, boys... Because all we will have is a completely naked desktop, lacking drivers and with 0 utility (and when I say 0, I mean 0): No 3D graphics, no internet, no chipset.... Nothing at all, zero.
We will have to install everything by hand, except for the generic audio driver, which is compatible and will greet us as soon as the installation is finished, so at least we will have sound to start with.
Very well, and from now on it's time to breathe deeply, take a breath and get ready, because the war with the Drivers on this Asus X550CC is served:
The first thing we will have to do is have another computer at hand (yes: if you don't have another support computer, you're screwed), and install the chipset.
The chipset will allow Windows Vista to start recognizing the internal components of the laptop: the USB ports, the system bus and, above all, to stop seeing components as simple "Unknown Devices", so the first thing we will do is, from another laptop or computer with internet, download it, transfer it to a flash drive and connect it to our computer.
(Remember to install Winrar before doing this. It works without drivers and is a simple executable that you install in a minute).
Once Winrar is installed, copy the shortcut to the desktop and you're done: We can start with the Drivers.
As I said, the first one will be the chipset, which you can install from Softpedia:
Download ASUS X550CC Intel Graphics Driver 9.17.10.2963.01 64-bit for Windows Vista 64 bit, Windows 7 64 bit, Windows 8 64 bit
(It's the only driver you can download from that web for Windows Vista, at least on the Asus X550CC). The others haven't worked for me.
Forget about the others on the web, since for some reason I don't know, they fail when installing them, even from the device manager.
And what about the official Asus page? You might be wondering. Well, they don't even offer drivers for Windows Vista for that model: Only from Windows 7 to Windows 10.
Once the chipset is ready (which you will have to extract with Winrar in an external folder, open the device manager and install it from there) (if someone doesn't know how to install from the device manager, let me know and I'll explain), the USB ports will already work properly for you, including the blue port (3.0).
At this point, and due to the impossibility of finding a network driver that connects to the WiFi card of the Asus X550CC (again due to the lack of Ivy Bridge support), I recommend you buy one of these:
Compatible with Windows 11/10/8.1/8/7 and earlier (that is, Windows Vista and XP). All Post MS-DOS Windows Systems, basically.
Once connected to the computer, we will have to download the appropriate driver for this specific model, which I leave here: Descarga para TL-WN722N | TP-Link España
Once connected to your wifi network, you will have to download a browser compatible with Windows Vista from another Computer and transfer it with a flash drive to your desktop. I recommend Supermium: A browser made by fans and enthusiasts of Windows systems that have already passed to a better life (XP, Server 2003, Vista, 7, 8, 8.1). Download link:
Supermium Web Browser
An up-to-date Chromium-based web browser compatible with Windows XP, 2003, Vista, 7, 8.x, and newer.
And well, once the WiFi is set up, I recommend that before getting into the real headache of all this, you download Legacy Update:
Home
Getting error 8007EFE when checking for Windows Updates on your old version of Windows? Legacy Update continues support for Windows XP, Vista, 7, 8.1, etc. where Microsoft left off.
legacyupdate.net
And update everything you can on your Windows Vista, to leave it as prepared as possible for what we are going to do next (if it asks you for 200 updates and you take several days to install all of them, don't be scared or frustrated: Believe me, they are essential for the operation of Windows Vista, and even more so on modern unsupported hardware).
And well, once the system is updated as much as possible, let's go with the 3D graphics drivers, the important and complex part of all this matter (before starting, if you see that you still get controllers with a yellow interrogation icon in the device manager, don't even bother: they simply do not exist for this Asus model in Windows Vista).
This is where we shut up some closed-minded veterans, and we prove that you can have Aero on this machine.
If you try to install the Intel HD 4000 driver as is, the installer will tell you to your face that "The system does not meet the requirements". And it's right: Intel never wanted Ivy Bridge to run on Vista. (Before proceeding, install KB2533623 and KB4474419) without them the system will not boot when we apply the Kernel, BE VERY CAREFUL!!!!! Download link:
In the catalog you will see many versions. You have to download the ones that say "Windows Vista for x64-based systems". If you download the x86 or Server 2008 version, it will give you an error "The update does not apply to the computer". Don't forget disabled Nvidia Driver.
I took a photo of this, so I'll leave it here:
To jump over this wall, we need the executable that is going to solve the situation: Extended Kernel from Win32.
What is this? It's a project that modifies the Windows Vista kernel so that it supports functions of Windows 7 and 8. Without this, your Asus X550CC will be a very nice paperweight with Aero disabled.
Download link for Extended Kernel Win32 for Windows Vista:
Windows Vista Extended Kernel Downloads
Once the executable is downloaded from the Win32Subsystem web, don't double click it like crazy.
Follow this order so as not to break the system:
Restore Point: Do it. For whatever you love most. If something goes wrong, you can go back.
Installation: Run the installer. You will see a command window or a simple installer. Make sure it detects your 64-bit version.
When finished, the program will ask you to restart. Do it immediately and don't be scared.
When you return to the desktop, look in the start menu or in the installation folder for the program "Extended Kernel Configuration".
Here comes the trick: You have to make sure that the "Enable Extended Kernel" options are active.
In the "Spoofing" tab, you can choose for the system to identify itself as Windows 7. This is what tricks the driver installers so they don't kick you out.
With the Kernel active and the "spoofing" set to Windows 7 mode, we can now go for the Intel HD 4000 driver.
As I told you, look for the driver modified by Ximoti. This driver is special because Ximoti took the enormous trouble of editing the .inf files to add the hardware IDs of the Ivy Bridge CPUs that Intel decided to ignore in Vista.
This driver is legendary in the community because it is the one that has the edited .inf files so that the Ivy Bridge series (like the i7-3537U) is recognized by Windows Vista.
I'll leave it uploaded to files.fm for whoever wants to download it:
Ximoti's Driver
Once you install the Ximoti driver by forcing it from the Device Manager (remember: Update Driver -> Browse my computer -> Let me pick -> Have Disk), inside the folder you will see a file called "Setup.exe". Run it and the CMD command window will open. Simply press any key that is not
F (be careful) and you will have the kernel applied.IF THE COMMAND WINDOW FREEZES DO NOT CLOSE IT, IT IS NOT BLOCKED, BUT IT IS PATCHING FILES.
Restart the computer and you will finally see the magic:
When you turn it back on, you will see this:
"Windows Build 6002 SP2".
This means that our Windows Vista already has the modified Kernel thanks to the Win32 Extended Kernel and the security updates from Windows Server 2008. The Ximoti driver has done the rest to give us Aero. (Thanks Ximoti, we owe you our lives, us 4 geeks, bro xd).
If the screen is out of adjustment, or you see that Aero still does not appear, right click on the desktop, personalize and adjust your resolution to the monitor's native one.
If Aero still does not appear, enter the device manager and install the IntelR HD4000 that I have been talking about all the time in this thread. It should let you. Restart and you will have Windows Vista with Aero on your modern hardware:
Look at these wonderful transparencies
Asus X550CC with Windows Vista x64 Aero.
Attachments
My Computer
System One
-
- Operating System
- Windows Vista x64
- Manufacturer/Model
- Asus XCC550
- CPU
- Intel Core i7-3537U @ 2.00 GHz (Turbo Boost hasta 2.50 GHz)
- Motherboard
- ASUS X550CC (Chipset Intel HM76)
- Memory
- 8 GB DDR3 1600 MHz
- Graphics card(s)
- Intel HD Graphics 4000 + NVIDIA GeForce GT 720M (NVIDIA Opti
- Sound Card
- Realtek ALC269 High Definition Audio
- Monitor(s) Displays
- 15.6" LED backlight (resolución nativa 1366x768)
- Screen Resolution
- 1366x768
- Case
- ASUS X550CC
- Mouse
- Touchpad Synaptics o Elan
- Internet Speed
- Ethernet 10/100/1000 Mbps + Wi-Fi 802.11 b/g/n